Tired of that boring old drum wrap? Fancy a fresh look for your kit without breaking the bank? Then it's time to get your hands dirty and give your drums a DIY makeover.
Re-wrapping your drums is a rewarding project that can completely transform the look of your kit. So grab your tools, choose a killer wrap, and let's get started!
1. Gather Your Gear
Before you dive in, make sure you've got everything you need:
- Drum key
- Screwdriver (type depends on your lug hardware)
- Spanner (for air vent removal)
- Drill and drill bit (same size as your shell holes)
- Drum wrap of your choice
- Sharp scissors or craft knife
- Fine-point pen
- Tailor's tape measure
- 50mm wide double-sided tape (or similar)
- Carpenter's square/set square
- Clothes pegs or masking tape
2. Prep Your Drum
The first step is to strip your drum down to its bare essentials. Remove the heads and hoops, then take off all the lugs, mounting hardware, air vents, and badges.
A drum can be re-wrapped over its original finish without damaging it; that being said, if your existing wrap is damaged, wrinkled or warped, it's best to remove it.

3. Measure Up
Accuracy is key when it comes to re-wrapping. Start by measuring the circumference of your drum by wrapping the tape measure around it.
Add the width of the double sided tape plus 10mm to this measurement.
i.e. If the tape is 50mm – add 60mm to your measurement and note down.
4. Apply the Wrap
Attach a strip of double-sided tape to one end of the wrap, from top to bottom. Take care to ensure the tape is close enough to the edge of the wrap but not beyond it.
Carefully place the wrap over the drum, ensuring it's centred and tight. Use clothes pegs or masking tape to hold it in place while you work.
Once you're happy with the position, carefully peel the backing off the double-sided tape and press the wrap firmly onto the drum. For a seamless finish, try to position the join over the lug holes.

5. Drill and Reassemble
Now it's time to drill the holes for the lugs and air vents. Be careful not to damage the shell!
Once the holes are drilled, reassemble your drum hardware, attaching the badges in your desired positions.
Tips for a Perfect Finish
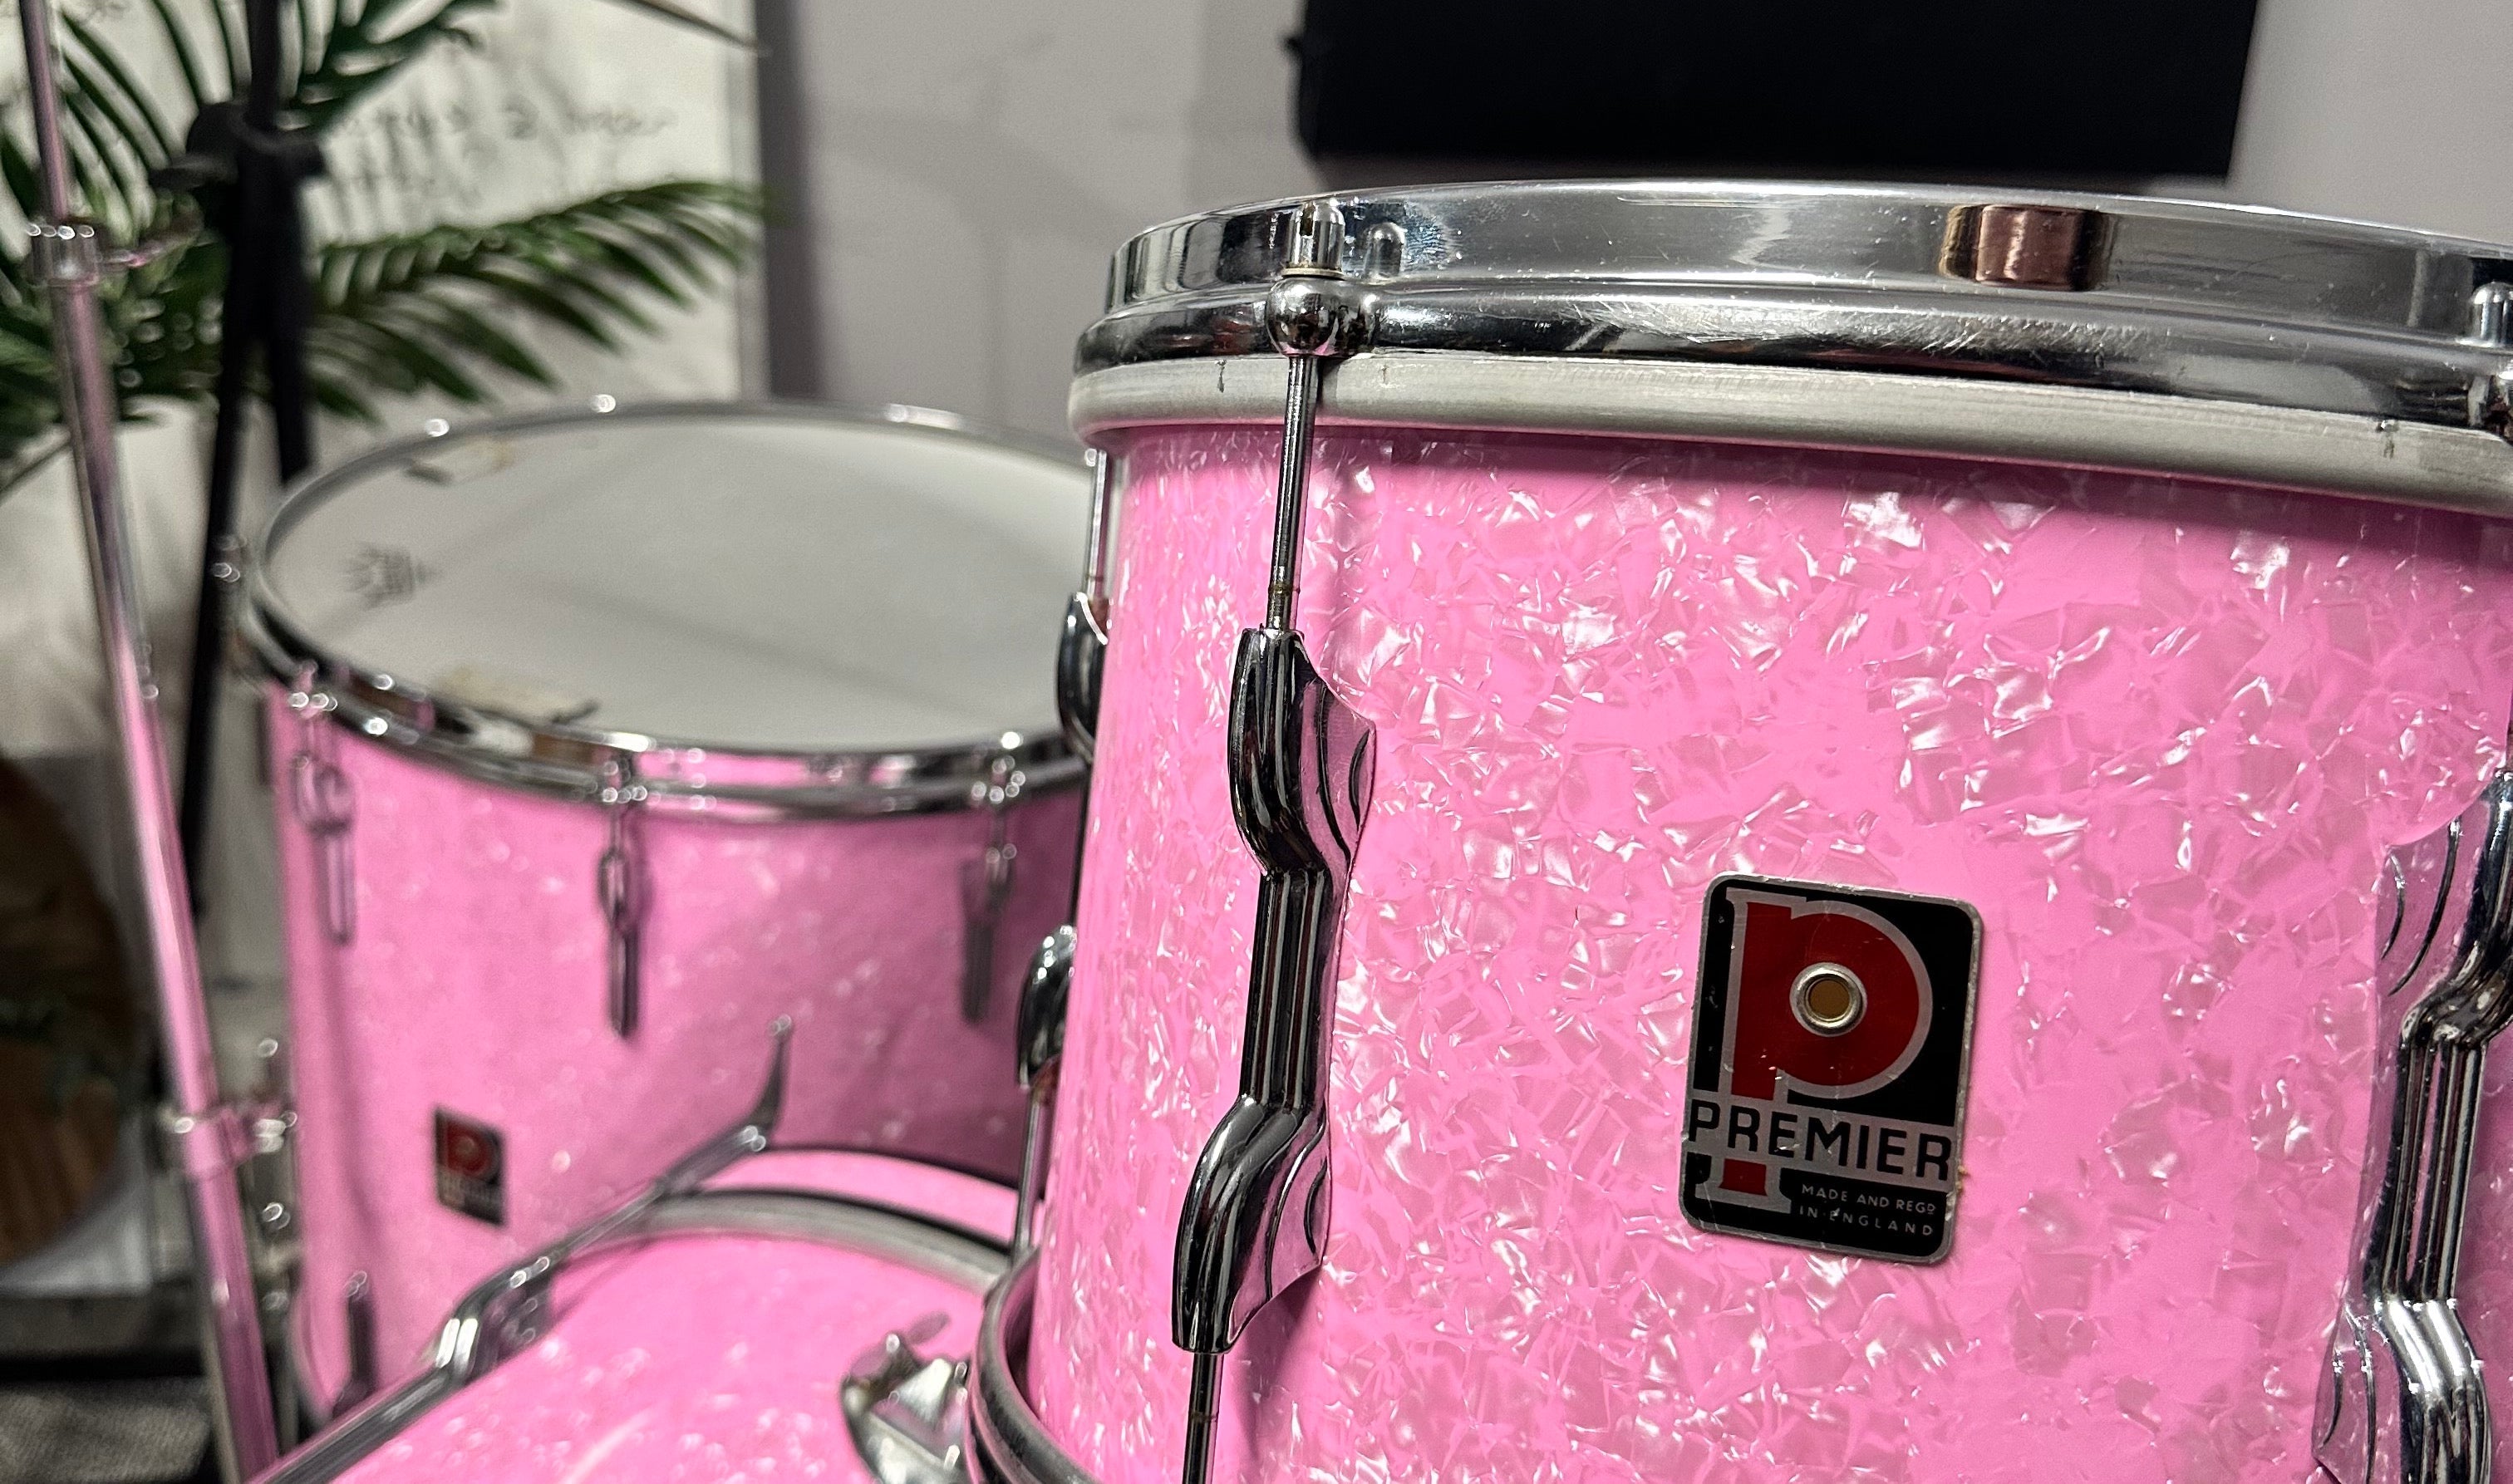
- Choose a high-quality drum wrap for the best results. Drum Factory Project offers premium drum wraps as shown in this article!
- Take your time and be patient.
- Practice on a spare drum head if you're unsure about your cutting skills.
- Consider using a heat gun to smooth out any wrinkles in the wrap.
