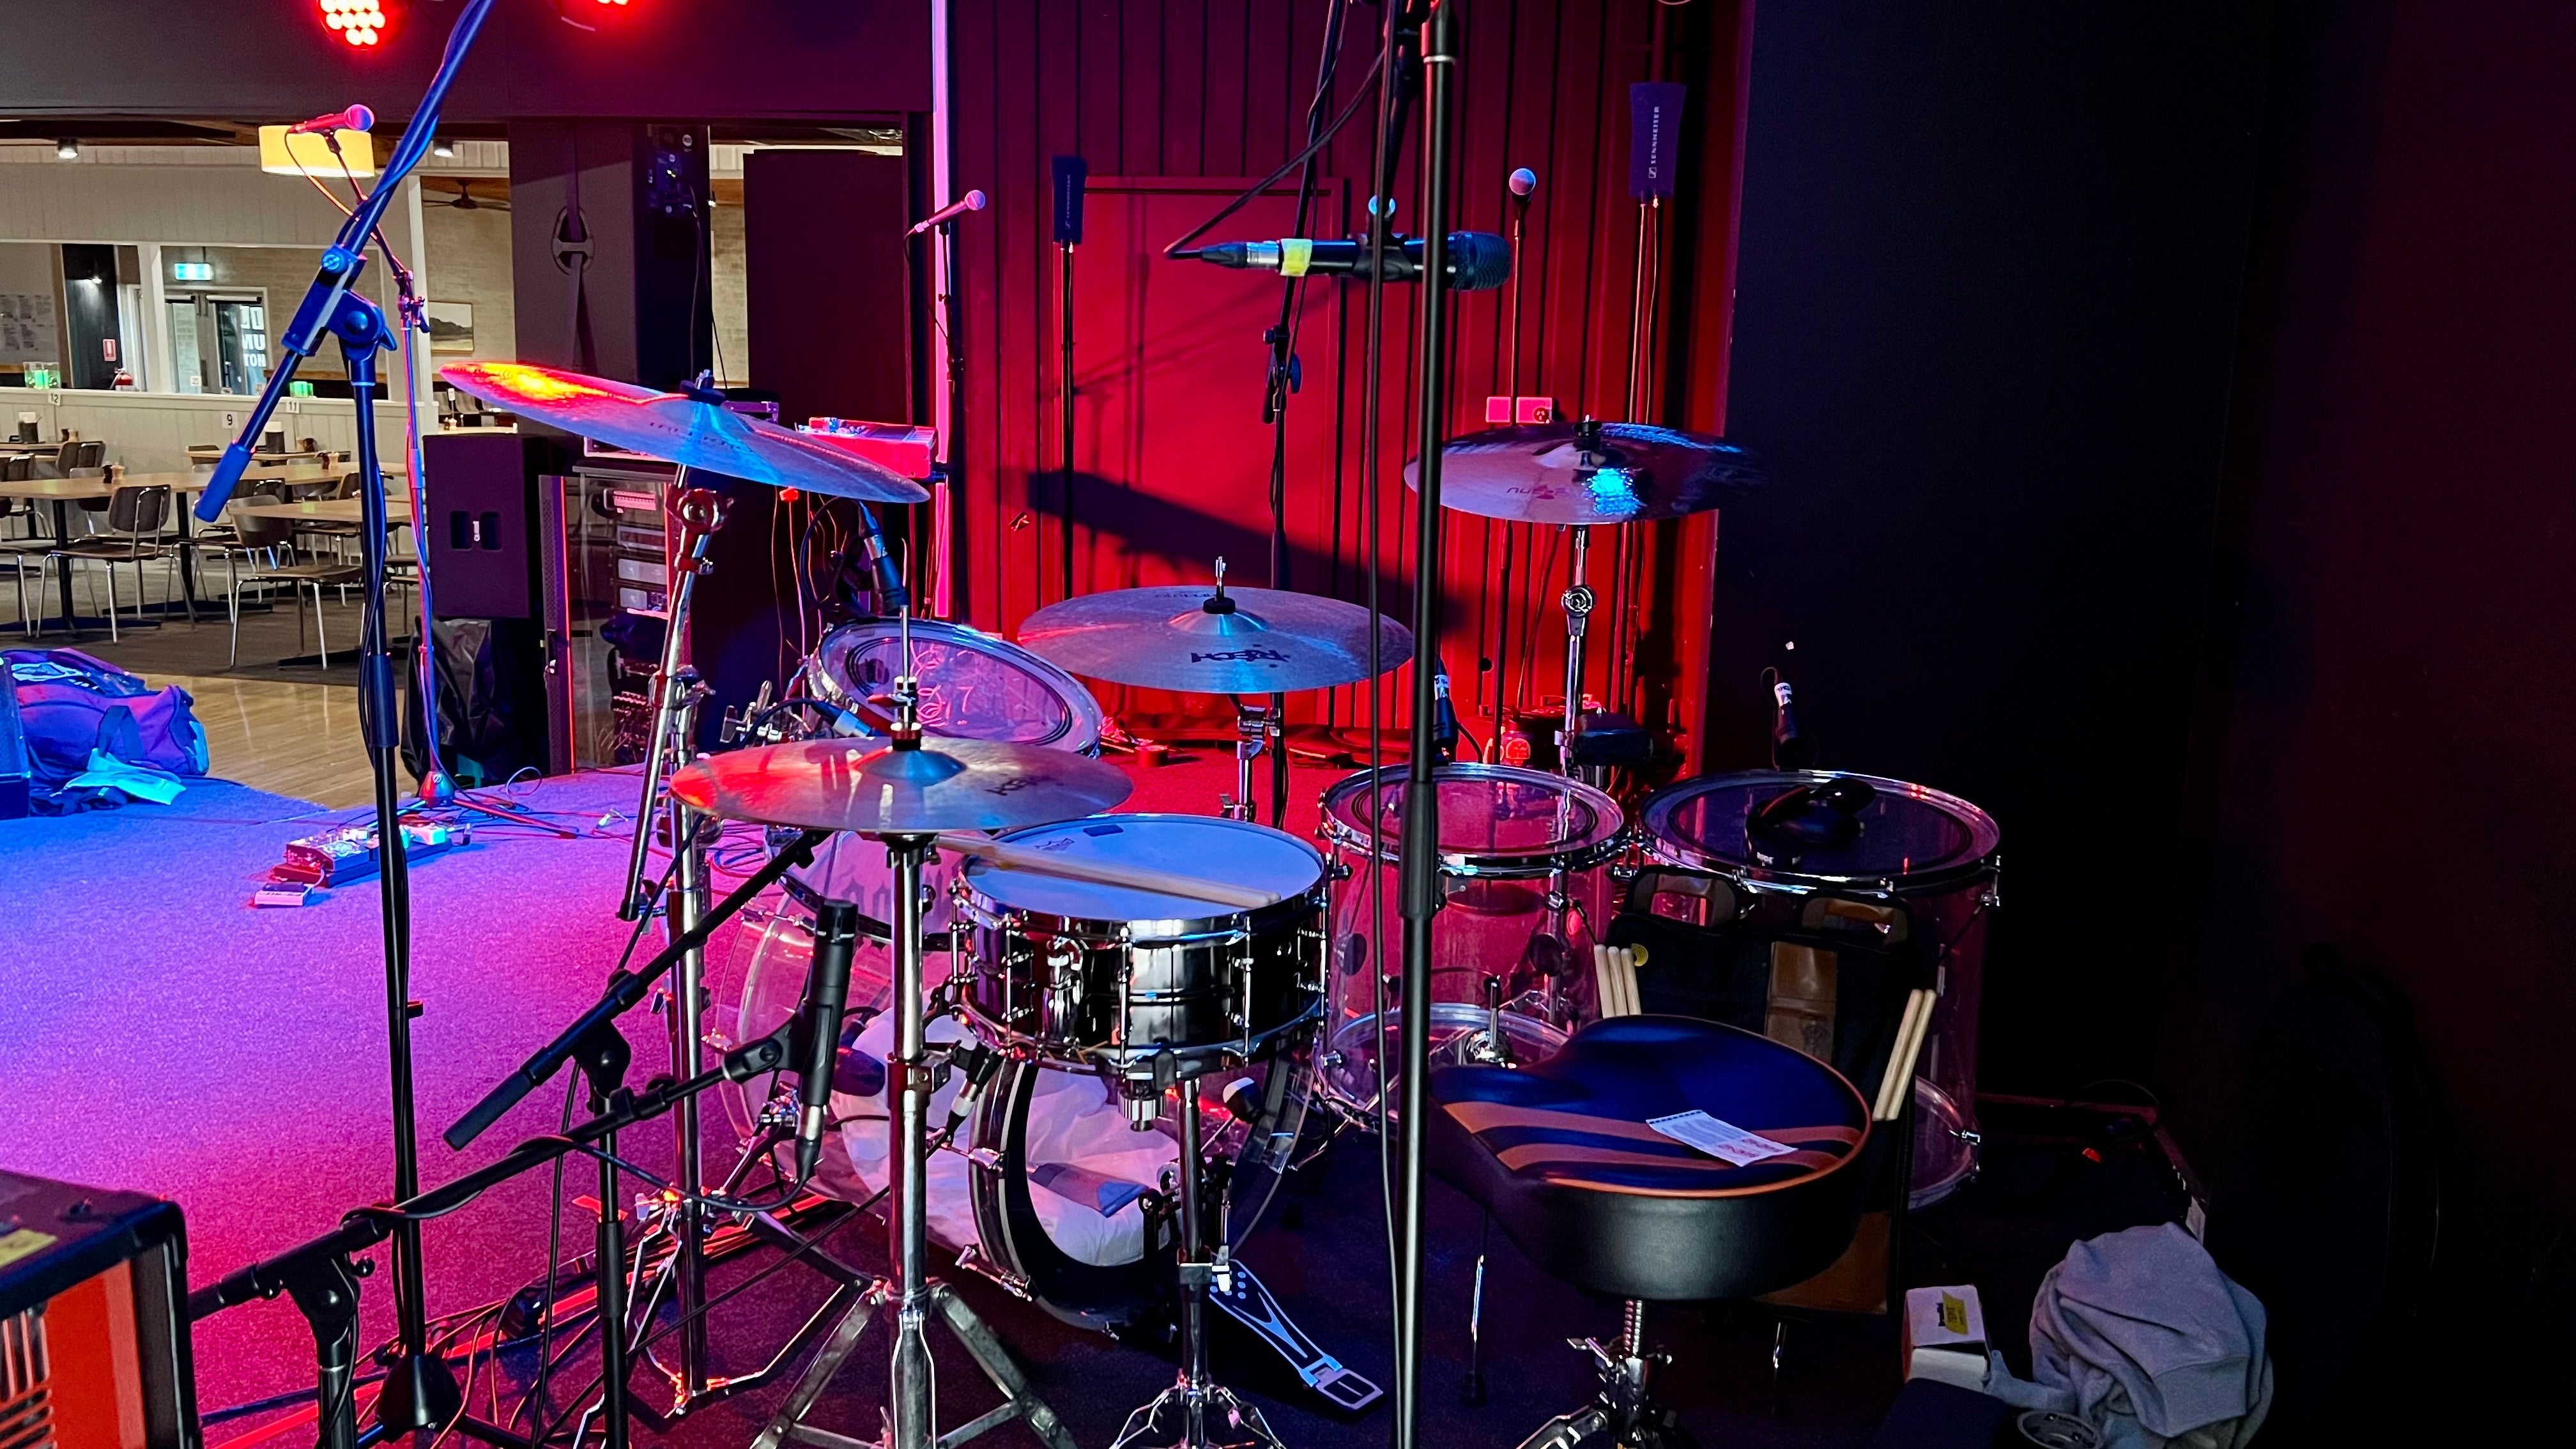
Getting your first drum kit is exciting — but for beginners and parents, all those stands, screws, and drumheads can feel like a puzzle. Don’t worry: with this step-by-step guide, you’ll have your new drum kit built, comfortable, and ready to play in no time.
Step 1: Unbox and Organise
Lay everything out on the floor. With any Chaos Catalyst Drum Kit, you'll find:
• Drum Shells: bass drum (kick), snare, rack toms, floor tom.
• Hardware: snare stand, cymbal stands, hi-hat stand, bass drum pedal, tom mounts.
• Cymbals: hi-hats, crash, ride.
• Extras: drum throne (drum stool), drum key, sticks.
👉 Tip: Keep the packaging handy until you’ve finished — small parts can hide in the bottom of boxes.
Step 2: Build the Bass Drum (Kick Drum)
1. Place a rug down (something to cover underneath the bass drum at least, but ideally for the entire drum kit, to avoid damaging any flooring).
2. Place the resonant head (front head) and hoop on the front of the bass drum and tighten with tension rods.
• This head doesn’t get hit as often as the batter head (the one facing you), but it helps the drum sound full.
3. Optional but recommended: Place a small pillow or folded blanket inside the bass drum so it touches both heads. This controls boominess and gives a punchier, clearer sound.
4. Flip the drum over and attach the batter head (the one you’ll be striking).
5. Slide out the bass drum spurs (the little legs on each side) and angle them slightly forward to stop the drum rolling. This is super important!
6. Attach the bass drum pedal to the hoop by sliding its clamp under the rim and tightening.
Step 3: Snare Drum
1. Open up the snare stand into a tripod shape.
2. Place the snare drum in the basket and tighten until it holds securely.
3. Position it just above your knees when sitting, angled slightly toward you.
Step 4: Rack and Floor Toms
1. Attach the rack toms onto the bass drum mounts. Angle them slightly toward you so hitting the centre feels natural.
2. Insert the floor tom legs into their brackets and stand it on your right side.
Step 5: Hi-Hat Stand and Cymbals
This is the trickiest part for beginners — here’s how to make it simple:
1. Open up the hi-hat stand into a tripod and place it near your left foot.
2. Screw in the hi-hat rod (the long thin pole) into the base until secure.
3. Place the bottom cymbal on the felt washer at the base.
4. Take the hi-hat clutch (the small metal piece with two felt washers and a wingnut):
• Unscrew the wingnut and separate the two felts.
• Put the top hi-hat cymbal between the two felts.
• Tighten the wingnut back down.
• Slide the clutch (with cymbal attached) onto the rod and tighten.
5. Test the pedal — the top cymbal should move up and down smoothly against the bottom one.
Step 6: Crash and Ride Cymbals
1. Set up the cymbal stands.
2. Place a felt washer on the stand, add the cymbal, then another felt and wingnut on top.
3. Place the crash cymbal to your left above the rack tom, and the ride cymbal to your right above the floor tom.
Step 7: Drum Throne
1. Adjust the throne so your thighs are level or slightly angled down when sitting.
2. Sit comfortably — posture helps both drumming and avoiding back pain (make sure your weight is central, not extremely forward or extremely backward).
Step 8: Final Checks
• Sit down and try a simple beat with bass, snare, and hi-hat.
• Adjust angles so nothing feels out of reach.
• Use the drum key to make sure each head is evenly tightened.
Step 9: Play!
Your Chaos Drums Catalyst Kit is now fully set up. Time to grab your sticks and make some noise!
👉 Parents! Don’t stress if things don’t feel “perfect” for your new drummer on day one. As they learn, they’ll start to adjust their setup to what feels best!

